Photo printing paper | Best in 2021
The world is so visual at the moment that no matter what you are looking for, there is an image and even a video to help you know exactly what you're looking at.
But then there are some photographs that are just not meant to be tucked behind a screen and deserve a grand display. Perhaps your professional portrait or a landscape photograph taken on your last hiking trip, there are some photos that look good only when framed.
However, if you picked up on your photography hobby and want to print some photos without having to go through the local printers and their cost, why not print at home.
And we are here to get you started with some amazing tips:
Readjust your screen
You may not even know what calibrating your display means until you are preparing to print images.
You will be able to see the difference in display colors if you look at the same photograph through different screens and then calibrate the screen to match the true colors of the prints.
In order to ensure that the colours on your print are truly reflected by the colours on your monitor you must calibrate the monitor regularly.
Pick the right finish of paper
You may not know until you actually come about to actually printing photos by yourself that there are too many choices in photo paper alone to choose from.
Depending on what kind of surface does the front or receiving side of photo printing paper has you can choose from the following:
-
Matt : Often used for everyday or budget printing as compared to more high end papers, this kind of photo paper does not have a shine or any kind of glare.
- Pearl : With a distinct benefit of showing vibrant and rich colour visible in resulting prints, pearl paper has a slightly reflective surface finish.
- Satin: Due to the non reflective surface and glossy finish this paper makes it easier to view photos behind glass as well as certain angles.
-
Glossy: This might be the most widely used photo printing paper that also has the highest level of reflective surface or a highly shiny finish.
Learn about paper weights
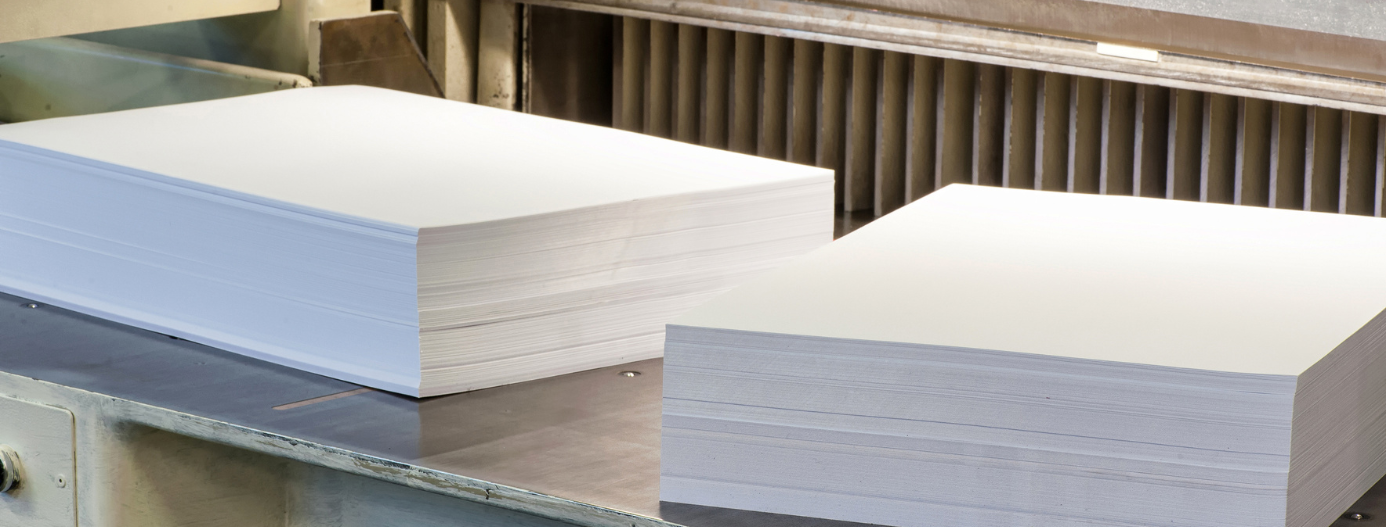
If you have held any photograph in your hand you will notice that the paper is thicker and slightly heavier than a common copy paper or everyday printing paper.
The end results of your photographs of course depend heavily on the quality colour mixture as well as archival properties of the photo paper. Photo paper (measured in GSM or Gram per Square Meter) can be broadly divided into two weights:
With adequately accommodating high quality images but poor archival properties this is a commonly used photo paper weight that is preferred for printing brochures for flyers.
This will be a particularly thick and heavy paper that is used specifically for printing images that require to be preserved. High-quality coating and archival properties can be found to print images.
If you are planning to use your home printer then it's wise that you go through the user manual to understand what are the products and settings that are recommended by the manufacturer for using photo paper to print photos.
It's also advised to use printers that use pigmented inks because of their fade proof and waterproof features.
For exceptionally high quality results you must consider a laser printer that is known for producing outstanding photo prints.
This is definitely a step ahead from amateur tries at printing photos at home. In order to check whether your photos have been printed to suit the exact features of the image you must check your printed photos under a good light.
You can, for example, check against the light from a window or light source that is closest to the light the photo will be displayed under.
To wrap up, find the best photo printing paper at ThunderBolt papers and begin your photo printing journey. As a final tip, do not be afraid to make mistakes, for you will only learn by doing more rather than aiming for impossible perfection in the first go.
Have you tried to print photos at home especially for displaying in a frame?


