Make DIY Bookmarks As Gifts
When there was literally no way other than animal based paper to make books, people had very little access to information. This also meant killing at least 300 sheep for one book, which was not only exorbitantly priced, but simply extremely cruel.
With the invention of paper, one of the things that grew in abundance were books. People were finally able to educate themselves, share information with others while spreading the simple joy of reading. It was nothing short of a surprise or rather a treasure to own a copy of a book.
Today, there is no end to the amount of books we have with us. And anybody who is familiar with or is fond of reading books is already used to the simple tools that are bookmarks. Essentially, a bookmark is a simple tool that helps you mark your progress while reading a book.
And today we will tell you a bit about bookmarks and how you can make some yourself as a fun paper craft activity.
Bookmarks are the perfect gifts!
At ThunderBolt Paper, we love everything that includes paper from art, prints or craft. That includes the kinds of papers there are and the endless things you could do with it. The same is with books and bookmarks.
As far as you can go to trace the books, you can go just as far to find bookmarks with them. They were, after all, crucial to help mark the progress of a reader without harming the book in any way, so they were supposed to be thin, lightweight and inconspicuous as much as possible.
Of course, in the absence of paper, initial bookmarks were :
- Made of vintage vellum paper, which was a kind of animal based parchment paper.
- Made of thin strips of embellished leather.
- Piece of string sewn along with the book's spine.
- Embroidered fabrics.
- Silk or ribbons with tassels at one end.
And today, with all the endless options in materials and ideas, bookmarks can be the best kind of gift. Especially during the holiday season when you might be looking for a special gift, a handmade bookmark can be the best and perhaps the most thoughtful gift for a reader.
There are two kinds of people in the world. The first kind folds the corners of the page they are reading, also known as making a dog year and the other ones that use bookmarks to not damage the pages of the book. If you belong to the second category, you would enjoy bookmarks along with making handmade bookmarks for yourself as a fun activity with family or friends or as a personalized DIY gift.
Things you will need:
Collect these basic materials to start your fun bookmark making activity:
- Scissors
- Different kinds of paper
- Colorful threads
- Beads or embellishments
- Acrylic or watercolors
- Measurement ruler/ scale
- Punch for holes
Try these DIY bookmarks today.
Remember to have fun and keep the designs simple to follow and easy to replicate. The whole point of making an activity out of a paper product that you can easily buy too is to enjoy some quality time relaxing while creating something useful.
https://www.architectureartdesigns.com/25-creative-diy-bookmarks-ideas/
https://www.ponoko.com/blog/how-to-make/how-to-make-bookmarks/
(please refer to these links for appropriate photos for the book marks)
Use photographs
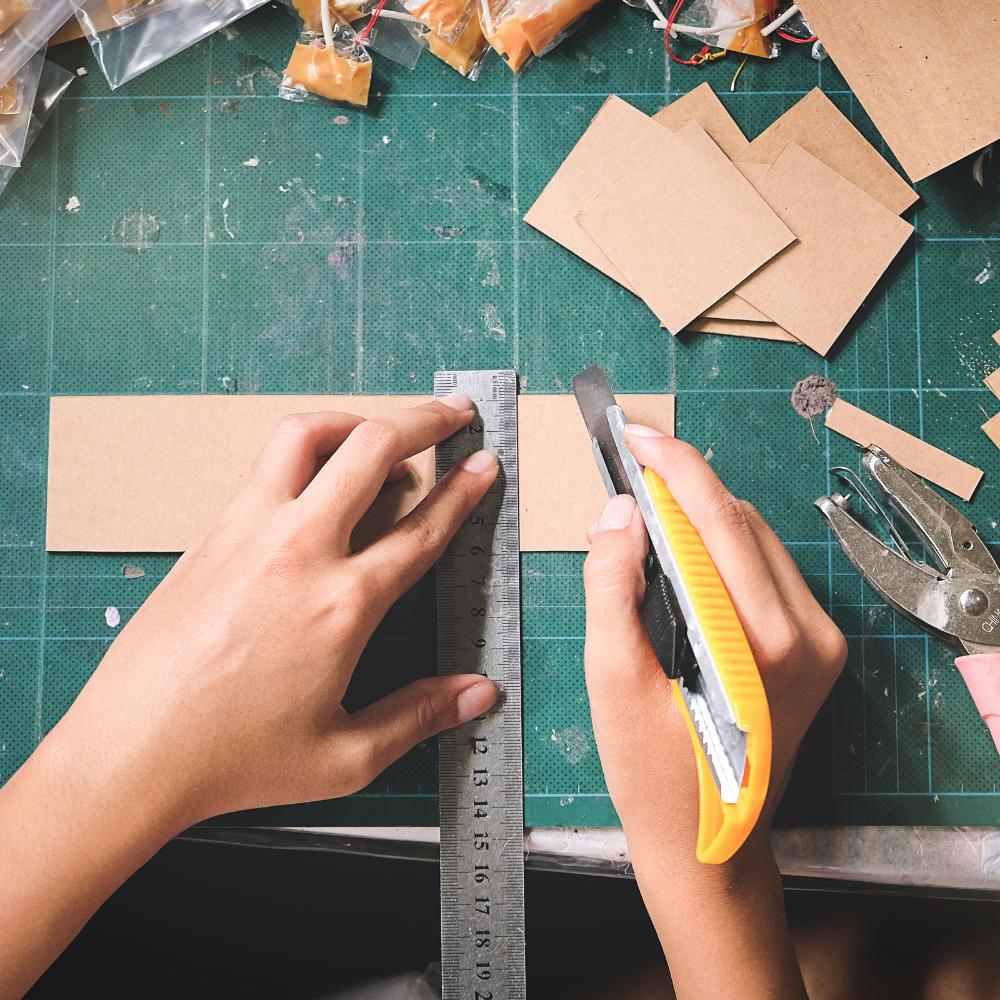
You can print some photos on cardstock or cut along the shape to be pasted over another textured or smooth finish paper to gain slight thickness. The basic size to refer to can be 5x15 cm of width and length. Punch a hole for the string, ribbon or tassels.
Draw and paint
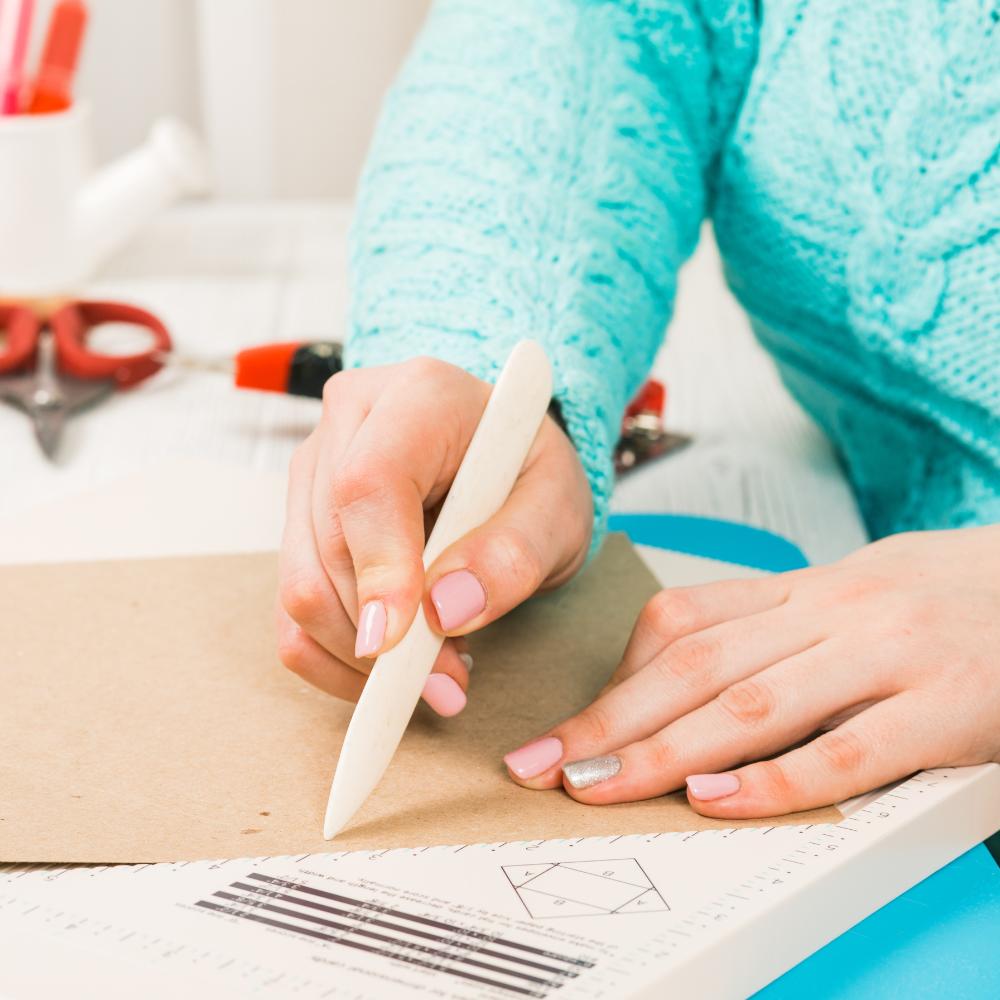
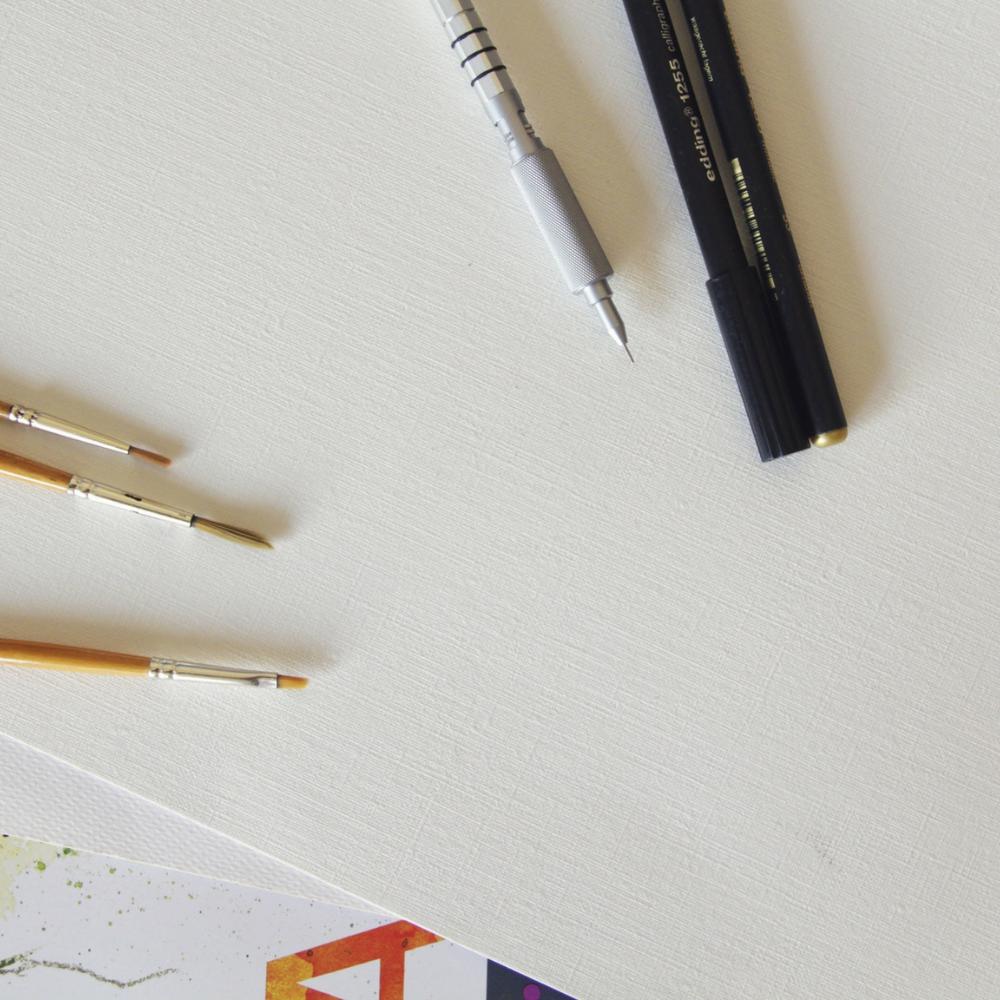
Cut out some drawing paper to the size you'd like, then place it over your work table with tape. This can also help you to leave a margin or a few centimeters for a clean bordered look. Go on to paint with your preferred colors or write a quotation or a joke. Finish off with a hole on one edge or top edge to attach a string or whatever you like.
Make cutouts
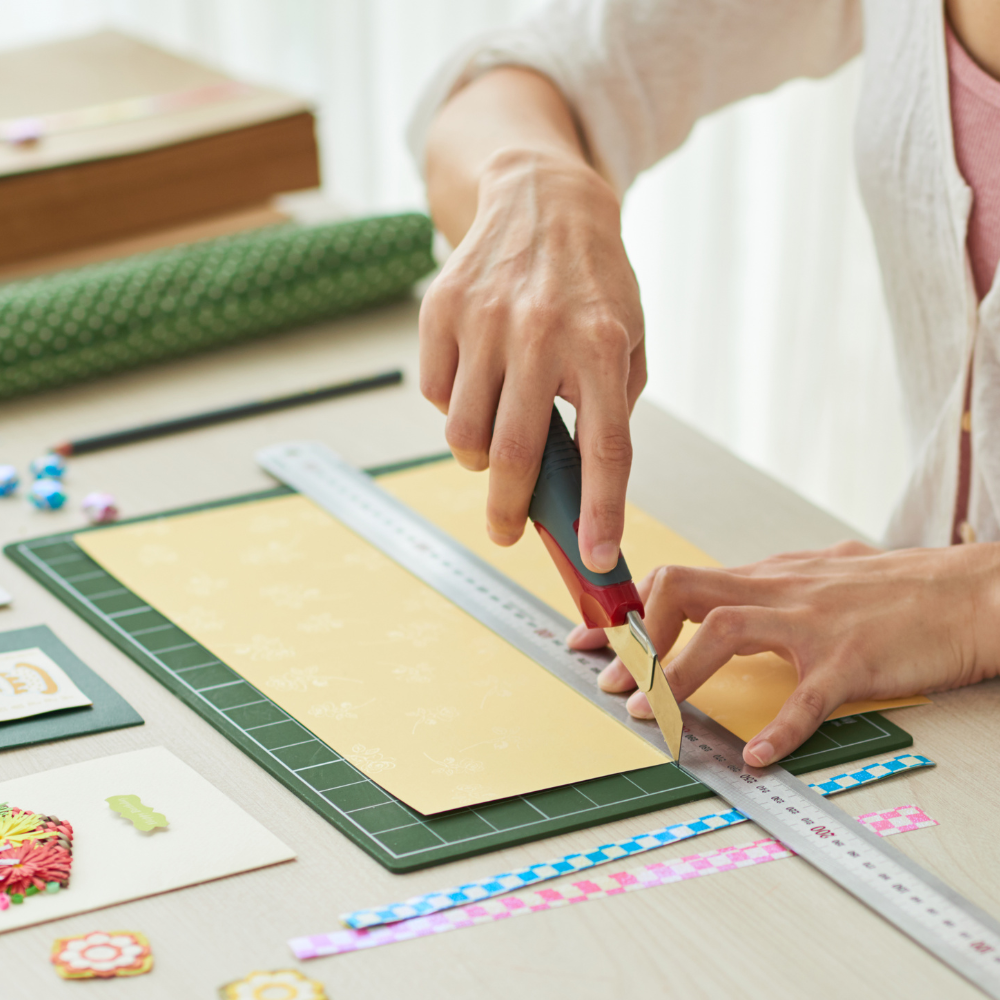
You can use some old greeting cards or postcards to cut out shapes or objects or letters that can be pasted over another card stock. You can also use a sharp scalpel to cut through the design and then maybe use self-adhesive sheets, if you have one, to stick the cutout and give it a little more laminated strength and longevity.
Try creative corners
You can use vintage paper, thick smooth finish paper or even textured paper to cut out small shapes or slight flaps that can be fixed over the corner of a page like a U paper pin.
Use stickers
You can make some shapes with the die cutting machine or simply any simple shapes that you can think of and stick them over some chipboard sheet or cardboard paper you might have at home. Cut into desired shape and finish off with anything such as string, ribbon or even more paper cut out shapes that will stick out of the book as a marker.
As always, we would love to hear from you about your experience with our products and the many ideas you may find at ThunderBolt Paper blog. Leave us a comment or write to us on any of our social media handles.


