The Wonders Of Vellum Paper!
Vellum paper is another version of a cellulose-based paper that Is translucent and transparent paper. When you find a paper that you can see through but not entirely like frosted glass, you have found Vellum paper. It has a smooth finish and looks very much like sheets of plastic. It is a very durable and yet delicate-looking paper.
Because of its transparent properties and versatile nature, you can see through it, and it can be used for a wide variety of designing packaging stationery and craft. Especially when it comes to crafts, there are endless options and methods to use this underrated crafting paper.
Since there are transparent and translucent versions of Vellum paper, the techniques and crafts to try are endless. Here are 6 things you can do with Vellum paper :
You begin with understanding the specifics of your printer and its compatibility with Vellum paper. Always allow a one-inch margin for the printer to hold the paper and run a test print to check how ink looks and check any errors.
Since Vellum is less porous than parchment paper, printing or using ink on it comes naturally with a tip, let it sit overnight to dry. Carefully print in small batches and pick each printed sheet and let it dry. For writing or journaling, use specialized gel pens or markers meant for crafting, or it won’t write or dry on the paper.
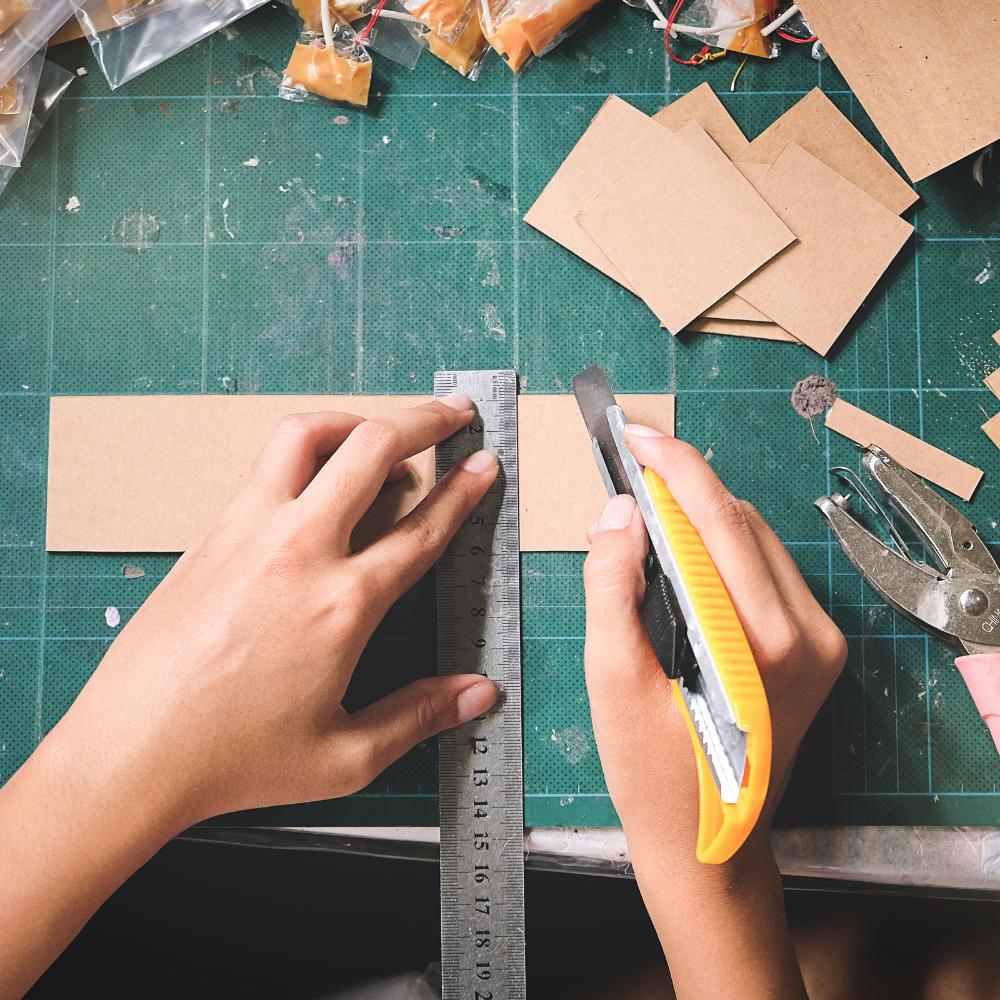
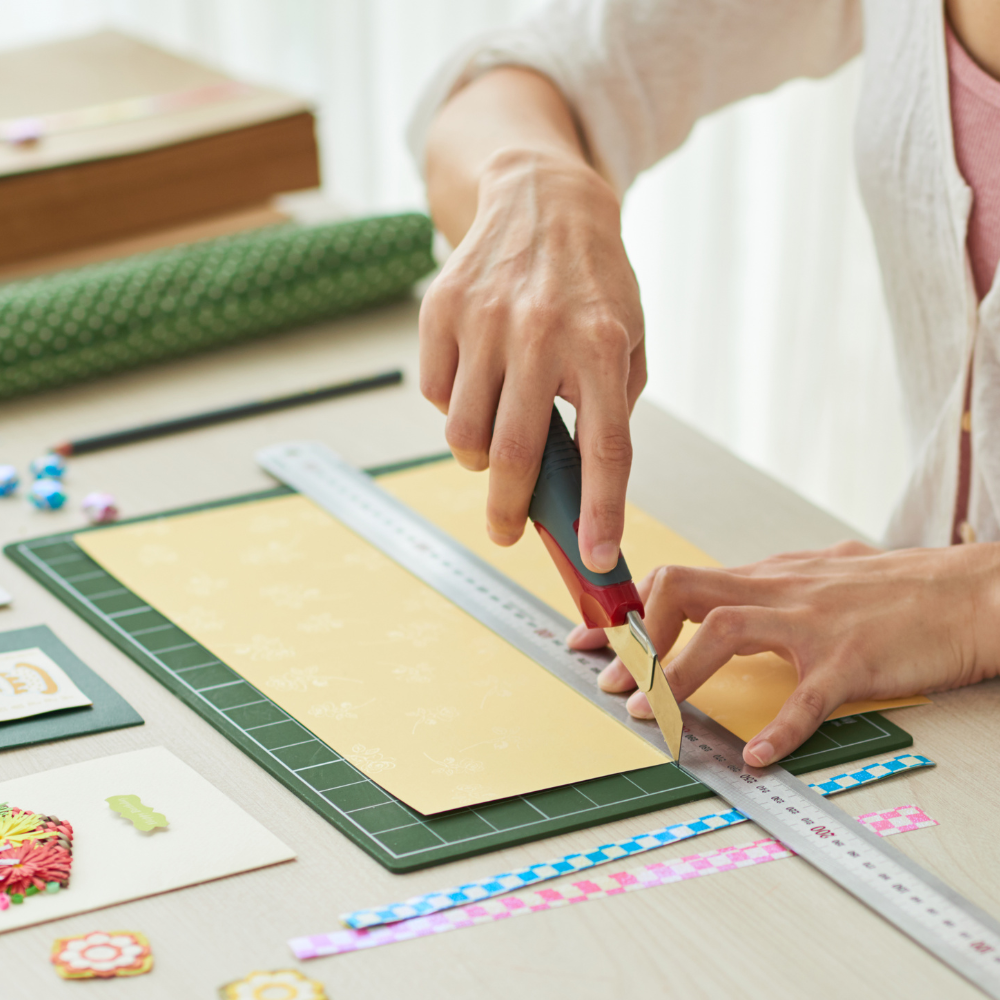
The plastic thick surface of the Vellum paper makes it difficult to stick or glue together. Try Vellum tape or using glue in dots while adhering two Vellum sheets together. While scrapbooking, you can attach your Vellum paper to the scrapbook using photo corners.
As a tip for beginners, you can apply plain glue on the surface you need to attach the Vellum to, let it become tacky, and then glue the Vellum sheet. It gives a clean look.
You must start with investing in a craft heat gun as a blow-drier will just not give you the results you are looking for and end up crinkling or wrinkling your vellum paper. First stamp the image with stamping ink on the vellum, then sprinkle embossing powder over it and with a tap take the excess embossing powder off, then carefully use tweezers to hold your project and move the heat gun on both sides of your project until the embossing powder begins to look like plastic. Then finally, let it cool.
It is a process of cutting various shapes of vellum using a Die cutting machine. You can get some shapes and cut your vellum paper in those shapes using a Die cutting machine. It has been suggested by crafters, to first stamp the image and then emboss it to finally cut it with a die cutting machine.
You can even try some alcohol ink to color the backside of the embossed project for a better-colored look.
As already mentioned, stamping is very commonly done on vellum paper. The only exception or rule to remember is that regardless of the type of ink, it can take a lot of time to dry. Use a craft heat gun to fasten the process, but move it around evenly on the backside of the paper and not the side that has ink. Allow the ink to dry slowly with a preheated craft gun.
Vellum can very well be used for stenciling too. But you have to use certain products to ensure the stencil and the ink stays and doesn't move around. Use the anti-static powder over the paper and then put the stencil over the paper and dab the ink with a sponge all over the stencil. Then carefully remove the stencil to put embossing powder over the stenciled image and use a heat gun to carefully let it dry.
In the end, of course, it takes time to practice all these techniques, and it is only wise to invest in little equipment like sharp cutters or crafting guns as you go on in your process of crafting. Try the vellum paper available at Thunderbolt paper and incorporate the above-mentioned crafting technique as you may like. Have you ever tried using vellum paper for crafts?